Is your bathtub or shower in need of a makeover? One way to give your space a facelift is by putting fresh caulk around your tub. Re-caulking will make your place look newer and brighter, and it gives you the chance to remove any mold or mildew that can form via leaks.
But how do you know when to re-caulk? Let’s take a look at four surefire signs your bathtub or shower is ready for new caulk:
- Caulk is older than five years.
- Caulk appears dried out or cracked
- Caulk begins to peel or you see missing sections of caulk
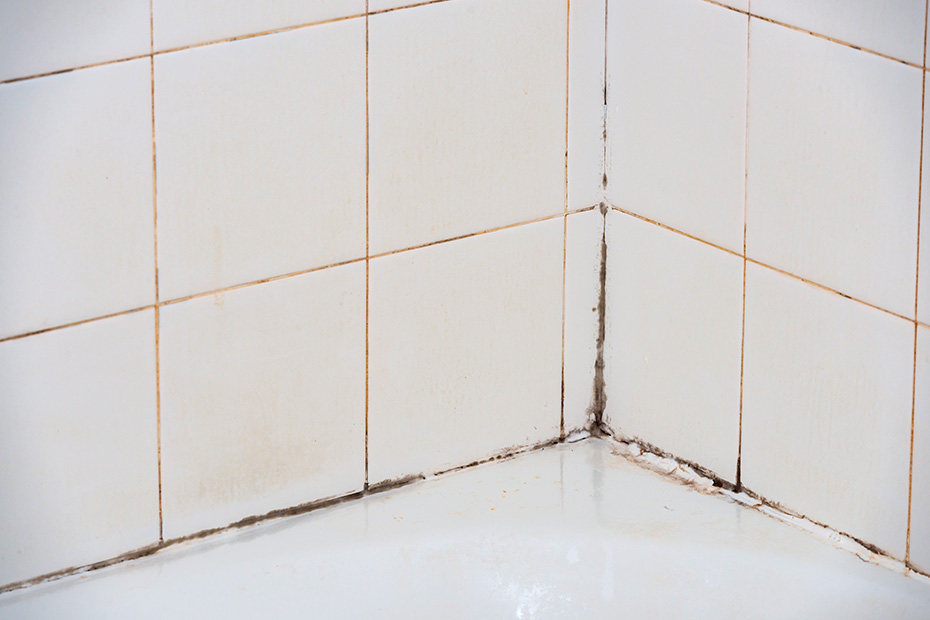
- Mold or mildew is beginning to grow beneath or on surface
Is re-caulking difficult?
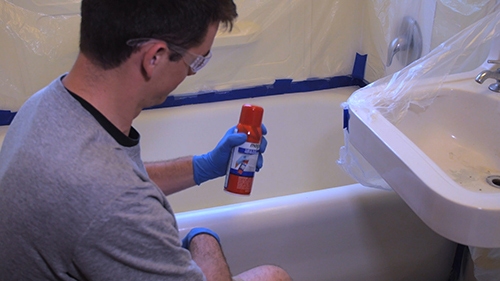
It doesn’t have to be. Most people are perfectly capable of handling a re-caulk job on their own without professional help. However, one of the most important parts of the job is prepping, which should never be overlooked. Removing previous caulk and prepping lays the foundation for the bath sealant. It’s critical to remove all existing caulk.
At Magic, we made re-caulking jobs even easier with our Magic Tub Peel & Stick Caulk for tubs and showers. We’ll breakdown what you need to get started and how to use it to give your bathroom fresh life:
What You Need (the majority of these are for prepping)
- Magic Tub Peel & Stick Caulk
- Caulk removal tool (or scraper or blade)
- Scrubbing pad
- Paint thinner (or mineral spirits)
- Rubbing alcohol
- Paper towels (or clean rags)
- Tape measurer
- Scissors
Surface Preparation
- Remove existing caulk. If you struggle with lifting the caulk, paint thinner or mineral spirits can soften caulk before removal.
- Thoroughly clean the surface with scouring powder to remove residues. Then rinse with water. You can also use Goo Gone Adhesive Remover to help you lift some of the sticky substances left behind.
- Wipe the areas you cleaned with rubbing alcohol.
- Dry all surfaces thoroughly.
Prepping Your Caulk Strips
- Measure each side of the tub where you’d like to apply the caulk. Cut strips to length. For standard tub, use three separate strips of caulk.
- Prebend each strip by folding it at the score line that runs down the middle, forming a 90-degree angle.
- For corners where two strips meet, cut the bottom half of the strip at a 45-degree angle to create a flat, mitered corner.
Applying the Strips
Remember to avoid getting the caulk wet when you start to apply.
- Start with the longest strip. Before you remove the caulk backing, place one end of the pre-bent strip in the corner where the wall and tub meet.
- In the corner, peel a small section of the backing from the top half of the strip. Press top half of strip firmly to the wall. Be careful to avoid repositioning the strip once adhered.
- Work in small sections. Continue to slowly pull off the backing and press the strip firmly to the wall until the entire top half of the strip is adhered.
- Repeat process from bottom half of strip. Press bottom half firmly against tub to complete installation.
- Repeat process for the shorter strips of remaining caulk.
Even if your DIY skills are limited, this should be a task that you can accomplish on your own. And you’ll have peace of mind knowing you’re preventing potential leaks and limiting the chance of mold or mildew to grow underneath.
How did you do? Let us know and please don’t hesitate to reach out if you have questions.